Wizard
The user registration wizard is a series of steps that will guide you through the process of setting up the ways the attendee can register for the event. The goal of the wizard is to make the registration process easy and intuitive for the attendee, while also collecting all the necessary information that you might require for the event.
Here are the steps you need to follow for setting up the registration process.
Step 1: Organization Details#
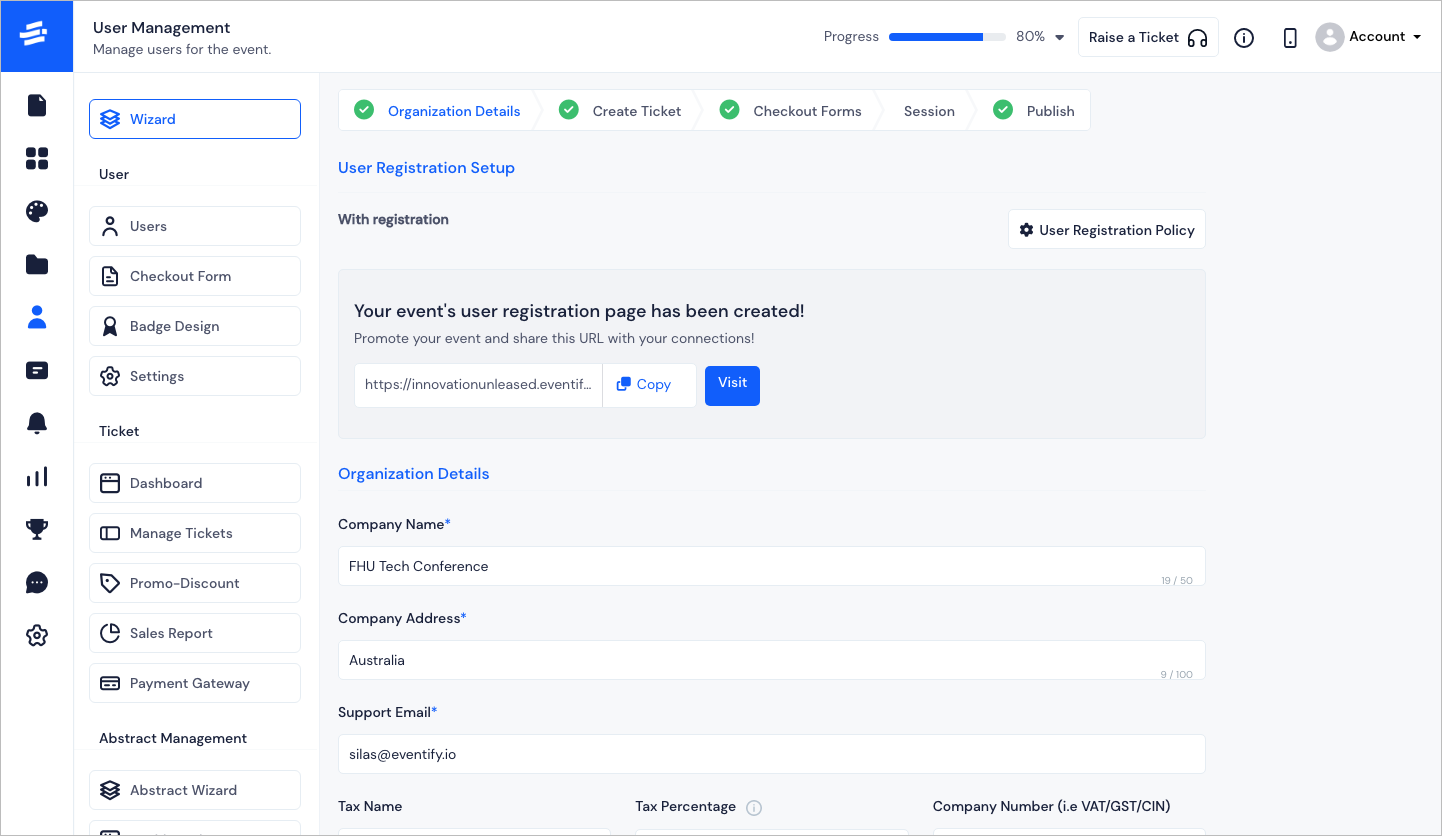
Before you start, you need to decide on what policy you would like to set for the registration. Eventify offers four types of user registrations.
- External registration link :- You can add your external link for user registration.
- Without registration :- User will be registered with default email and username when the app opens.
- With registration :- You can create the form and make it available for user registration.
- Ticket :- You can register the user via ticketing.
User Registration Details
Select the registration policy from the above option and and click on Save. The rest of the steps will follow accordingly.
If you select With registration or Ticket, then the event's user registration page or the event ticket page will be automatically created. In case of External registration link, the registration page will be as per your provided url.
The next step is to fill up the Organization Details. Enter the following:
- Company Name,
- Company Address,
- Support Email,
- Tax Name,
- Tax Percentage and
- Company Number (i.e VAT/GST/CIN)
Click on Save to go to next step.
Step 2: Create Ticket#
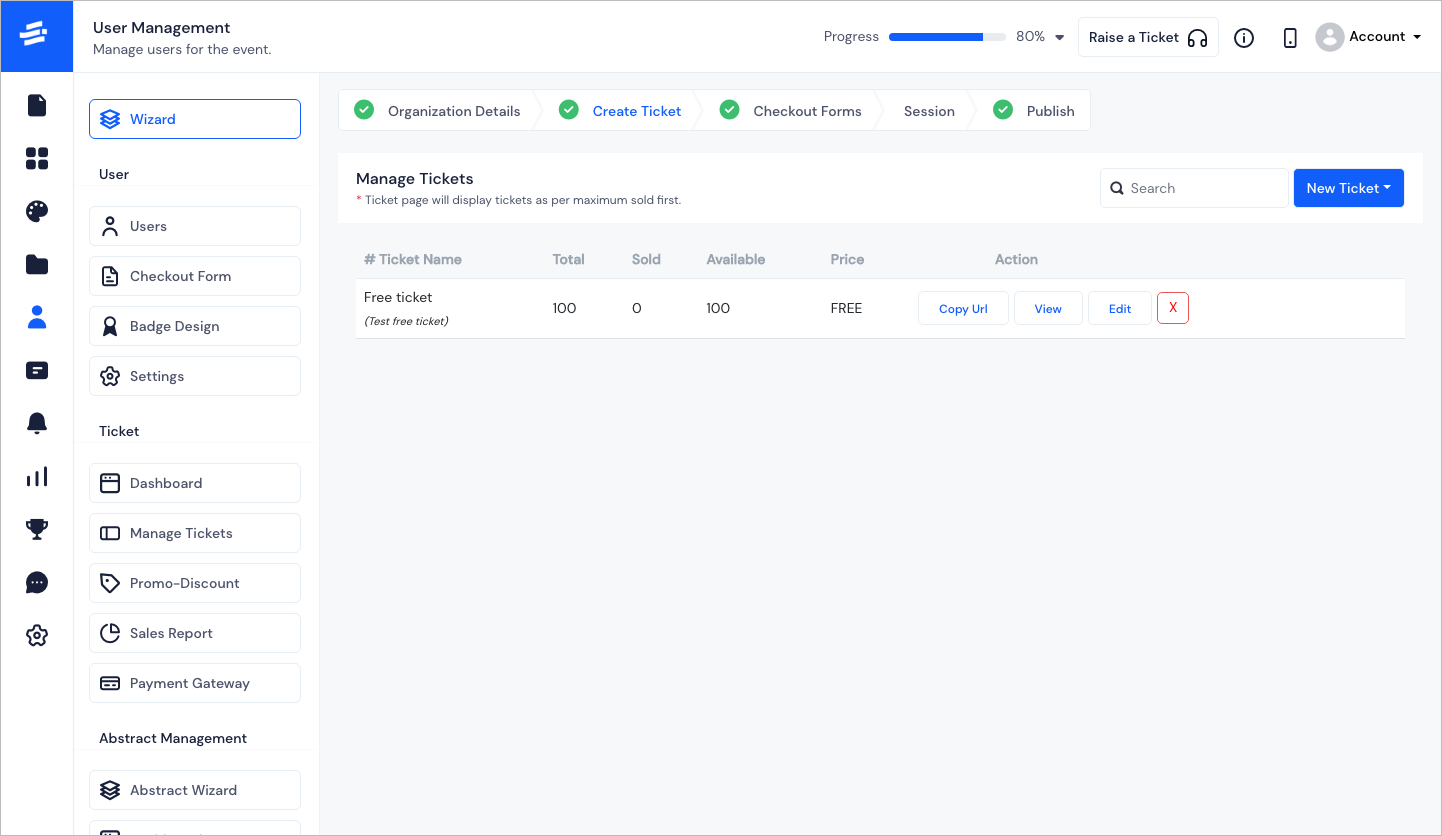
You can create the event's tickets under this section. Click on New Ticket to create a ticket.
- Select the option for which you want to create a ticket Attendee/Exhibitor/Sponser/Speaker
Add a new ticket pop-up will appear. Here you can add the details for your tickets like the Checkout Form, Ticket Name, Quantity, Min and max per Booking, Ticket Type, Ticket Price, etc. Here some fields are specific to the type of ticket you will be creating and you will get the option to even track the tickets using Tracking Pixel.
Note: Although creating checkout forms is in the third step, you will find some default forms created already for you to choose from.
Ticket page will display tickets as per maximum sold first.
Step 3: Checkout Forms#
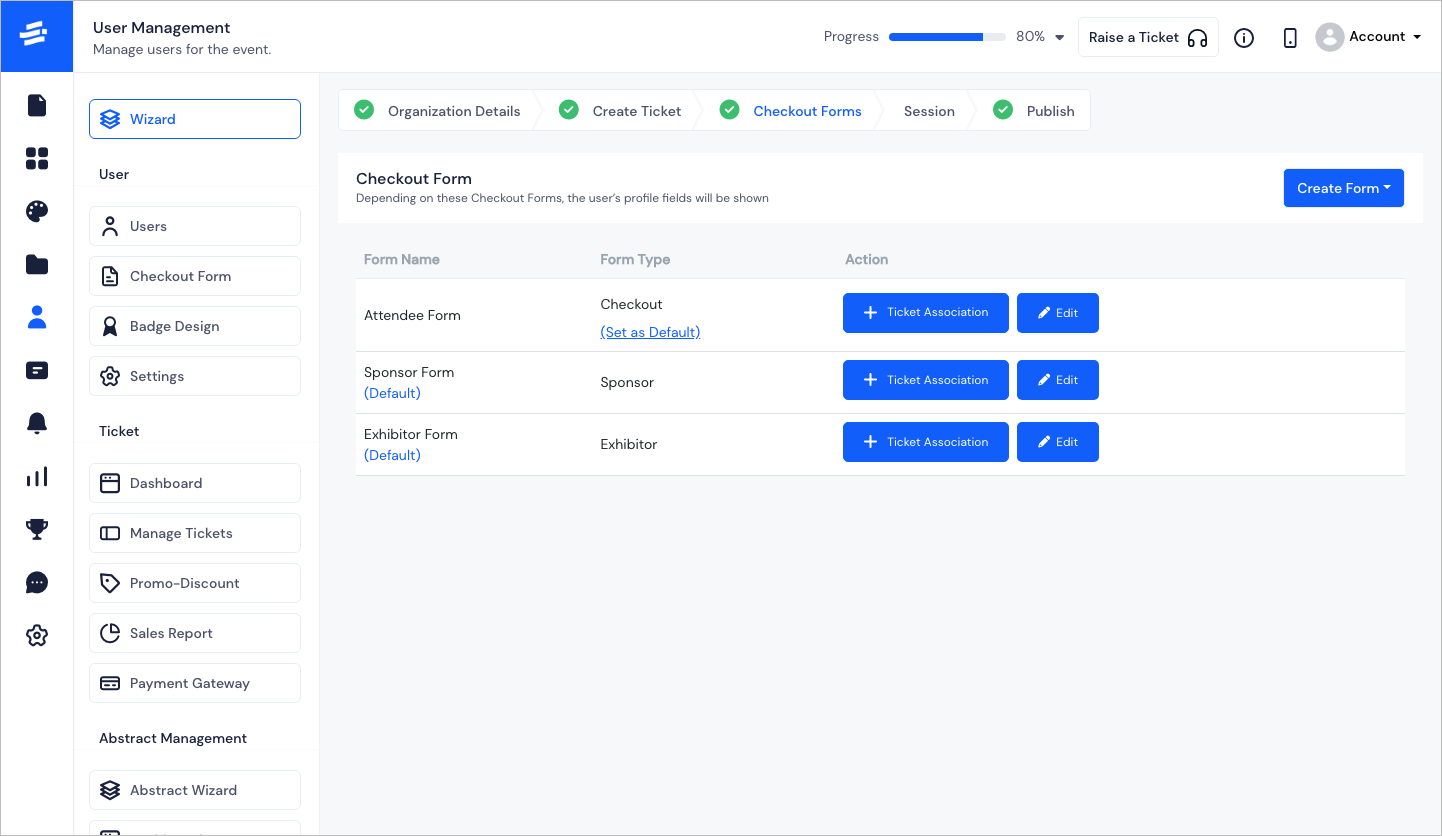
These forms serve the purpose of collecting essential user information during a ticket purchase. They also make the additional details fields in user details which shows in the user profile respectively.
Eventify has default checkout forms for exhibitor, sponsor, speaker and attendee. If you need a new form, click on Create Form and select the profile type for which you want to create the form. The create pop-up will appear.
tip
The Checkout Forms is fully customisable with the help of ToolBox in the form Builder. Drag and drop the Contact Fields or Additional Fields option from the Toolbox to design the form you require. You can also delete or drag to rearrange the fields based on relevance.
Step 4: Session#
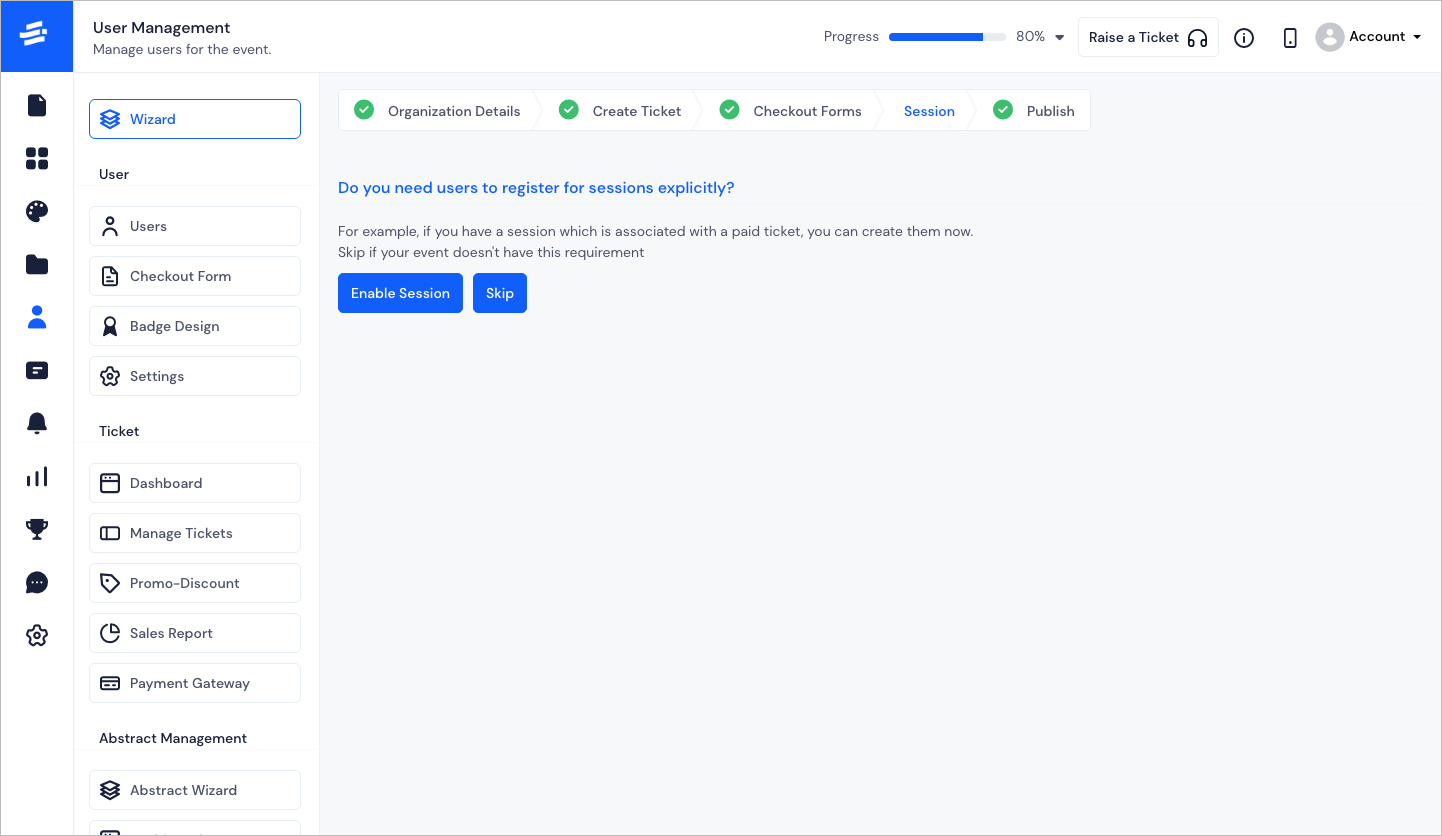
If you want to associate a session with a ticket then click on Enable Session. If your session does not have this requirement click on Skip.
On enabling, you can see the complete session calendar interface with the event's dates and all other features as available in Contents > Schedule.
Step 5: Publish#
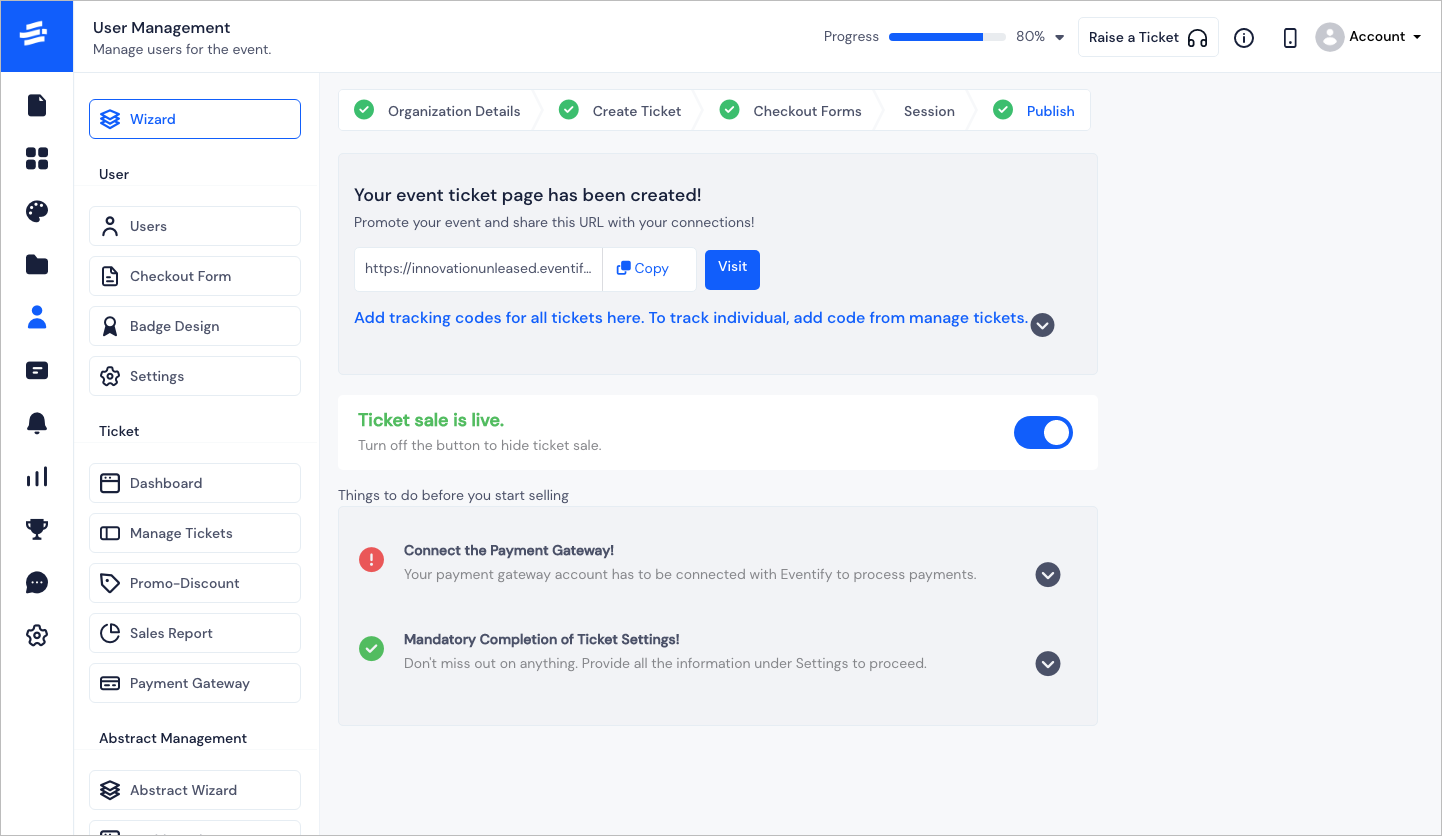
This is the final step of the user registration wizard. Here you will find the following:
Event ticket page link.
Option to add tracking codes for all tickets.
Option to make the ticket sales live.
But before you can go live with the ticket sales, you need to make sure that the Payment gateway is connected and the sales terms information is filled in.
Payment Gateway connection - Payment gateway account has to be connected with Eventify to process payments. You can connect with Stripe or Payfast.
Mandatory Completion of Ticket Settings - Provide all the information under Terms & Conditions of the Event viz; Refund Policy, Privacy Policy, Terms & Conditions and Thank You Page message or link.
Once you are done with all these steps, you are ready for user registrations and ticket sales.
FAQs#
Q: What are the types of user registration options available on this platform?
External registration: If organizers are using the different portals for registration, then we can create an API to integrate it with their ticketing portal. Users will automatically register on our platform in real-time when they successfully purchase a ticket. Or else they can download the sample CSV or XLS file format from the admin panel to bulk import the attendees to our platform. Without registration: User will be registered with default email and username when the app opens. With registration: You can create the form and make it available for user registration. Ticket: Organizers can register users via ticket
Q: Is it possible to customize the event registration forms?
Yes, organizers can add or remove different fields from the list given on the toolbox.
Q: Can a user register for multiple events?
Yes, users can register for multiple events. They can easily switch from one event to the other through the dashboard section on the App.
Q: What data is customizable?
Almost all data & features are customizable as per the event requirement. Also, controls are in the admin's hands.
Q: Are group tickets available?
Yes, exhibitors & sponsors can create a ticket package for their staff members.
Q: Is there an option to have registration for sessions?
Yes, from the admin panel organizers can add users to a private session.
Or
Generate a ticket link for the users to get self-registered. The session will automatically appear on the schedule page once they apply through that link.
Q: Is it possible to set a maximum capacity for a session?
The maximum capacity for a session can be set from the schedule page on the admin panel.
Q: How do I track my ticket sale ?
The Sales Report page on the admin panel shows the total sales of paid tickets or free tickets and the remaining in real-time.
Q: Can we configure promo codes for special offers or discounts ?
Yes, you can generate promo codes on the ticket section of our Admin Panel. You can offer a discount as a percentage or an amount.
Q: How much does Eventify charge for a paid ticket sale?
Eventify charges 1$ only on the sale of each paid ticket.
Q: Can we modify the email template for Ticket Order?
Yes, the Ticket Order template can be modified from the setting option on the Admin Panel.
Q: Is there an option to create private tickets?
Yes, an organizer has an option to create private tickets.
Q: What are the options to accept payment?
Organizers can set up their Stripe or PlayFast account details in order to accept payment through Gateway on ticket sales. They can also add their credit card info to allow offline payment.
Q: How many currencies are available on this platform?
There are 25 popular currencies available. Other currencies can be integrated on request.
Q: Does Eventify ticketing portal allow create Free tickets?
Yes, Eventify allows free tickets. 1$/ ticket charges are only applicable on the sale of paid tickets.
Q: Are offline mode tickets available for attendees who pay cash at the event venue?
Yes, an organizer can accept offline tickets from the sales report page on the admin panel.
Q: Is the tax included in the ticket price?
It totally depends on the organizer, they can either absorb or include it on the ticket price.
Q: Where can we see the payment breakdown?
While setting the paid ticket price, there is an info icon that will show the full breakdown of the price.
Q: Is invoice generated with each ticket purchase?
Yes, on each ticket sale, an invoice will be generated, with organization details.
Q: Can we create a refund policy?
Yes, organizers can select, from the list of refund policies:
1 day: Attendees can receive refunds 1 day before the event start date.
7 days: Attendees can receive refunds within 7 days before the event start date.
30 days: Attendees can receive refunds within 30 days before the event start date.
No refunds: We do not offer refunds.